Global Anticancer Drug Market Performance and Strategic Insights 2032
Градинарство |
2026-02-16 16:52:57
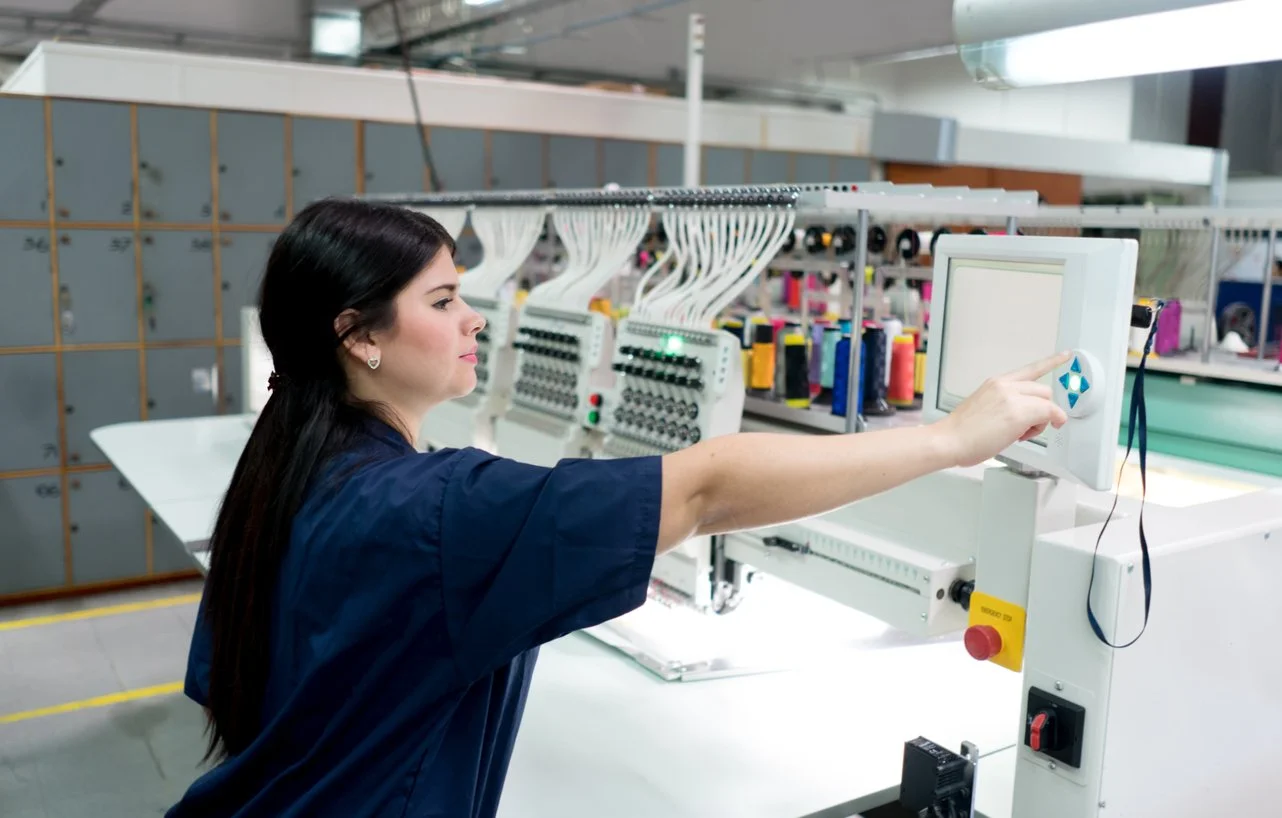
You have a beautiful image on your computer. Maybe it is a logo for a new business, a floral design you love, or a monogram you created. Your Bernette machine is waiting to bring it to life in thread. But there is a catch. Your machine does not read JPGs. It needs a stitch file in the right format. Learning how to convert image to Bernette embroidery format is the key to getting those perfect stitch results you dream about.
Bernette machines have become favorites among embroidery lovers for their precision, versatility, and ability to deliver stunning stitch quality . Whether you own a B70 Deco, a Deco 340, a B79, or a Chicago 7, understanding the file formats and conversion process saves you from frustration and wasted materials.
Before you convert anything, you need to know what your machine actually reads. Different Bernette models support different formats, but there is a common thread.
EXP is the primary format for most Bernette machines. The Bernette B70 Deco, a favorite among hobbyists and small business owners, supports EXP, PES, and DST, with EXP being the most reliable and widely recommended . It preserves stitch information accurately and works seamlessly with the machine's system.
Older models like the Deco 340 use what Bernina calls .EXP+ format . This is Bernina's extended version of the standard EXP format with added color information. When you transfer these designs via USB, you will see additional files with the same name but .INF and .BMP extensions . You must copy all three files to your USB stick for the machine to display colors correctly .
Newer models like the Bernette B79 are even more versatile, supporting PES, EXP, JEF, DST, and more . The Chicago 7 also works with .exp and .exp+ formats, with specific requirements like file names no longer than 17 characters and the need to save both .exp and .inf files together .
The bottom line? EXP is your safest bet across most Bernette machines, but you need to understand whether your model expects plain EXP or the extended version with companion files.
Here is the honest truth. Converting a JPG to an embroidery format is not like changing a Word doc to a PDF. It is digitizing, the process of turning an image or logo into stitch data your machine can read and embroider perfectly .
A JPG shows what the design looks like. It has no information about stitch density, underlay, pull compensation, or color sequence. A digitized file tells the machine exactly where to start, where to end, and how to sew each part of the design .
Different parts of your design need different stitch types. Satin stitches work best for borders, small text, and outlines. Fill stitches cover large areas with solid texture. Run stitches handle fine lines and small details . Each stitch type adds a different look and feel to the finished piece.
Stitch direction affects how light reflects on fabric. Density controls how thick or thin the stitches appear. Underlay provides hidden support underneath, keeping the fabric smooth and preventing puckering . Together, these elements ensure neat, professional stitching.
If you plan to convert images regularly and want complete control, professional software is your best investment.
Wilcom Embroidery Studio E4 is the industry standard used by professionals for its precision and reliability . It offers complete control over every stitch parameter and exports to all the formats your Bernette needs.
Bernina Embroidery Software is the official solution from the parent company. It can convert .ART files and export them in formats your Deco machine reads . The software allows you to save complete designs including color information.
Hatch Embroidery by Wilcom offers a more accessible entry point with professional features and a manageable learning curve. It supports EXP export and includes auto-digitizing tools.
Embrilliance runs on both Windows and Mac and takes a modular approach. You buy only the features you need. It handles EXP format well and is popular among Mac users.
Ink/Stitch is a free plugin for Inkscape, a free vector graphics program. It is great for learning basic digitizing before moving to advanced software . The learning curve is steep, but the price is right.
With these programs, you import your JPG, trace the design, assign stitch types, set density and underlay, apply pull compensation, sequence colors, and export as EXP or whatever format your machine needs.
Here is the option that saves the most time and guarantees quality. Professional digitizing services employ experienced digitizers who understand stitch logic, fabric types, and machine behavior .
You upload your JPG to a service like Absolute Digitizing. You specify your Bernette model and desired format. You pay a small fee, typically starting at $10 for left-chest and cap designs . Within 6 to 8 hours, or as little as 2 hours for rush delivery, you receive a production-ready file.
What did they do? A human digitizer analyzed your image and made hundreds of decisions. They chose stitch types for each area. They set density based on your fabric. They added underlay to prevent shifting. They applied pull compensation so elements stay shaped correctly. They sequenced colors for efficient production. They tested the file in simulation software before sending it .
You get unlimited free edits until satisfied, a money-back guarantee, and 24/7 live chat support . For most people who need reliable results without the learning curve, this is the smartest path.
Whether you do it yourself or hire a pro, understanding the steps helps you appreciate what goes into a quality file.
Step 1: Choose or Create Your Artwork. Select a high-resolution image such as a JPG, PNG, or AI file. A clear image ensures every detail translates accurately. Simplify your design by removing tiny details and thin lines that often do not stitch cleanly. Make sure there is strong color contrast between different parts of the design .
Step 2: Import Artwork into Digitizing Software. Open your image in software like Wilcom E4, Hatch, or Ink/Stitch. Resize the design to fit your Bernette's hoop size. Use alignment tools to position it correctly on the screen .
Step 3: Define Stitch Types and Directions. Assign satin stitches for text and borders, fill stitches for large areas, and run stitches for fine details. Adjust stitch direction carefully, as this affects how light reflects on the finished embroidery. A few angle changes between sections can make your design look more dimensional .
Step 4: Apply Underlay and Set Stitch Density. Add underlay to stabilize the fabric. Common types include center run, zigzag, and edge walk underlays. Adjust stitch density, generally around 0.4 mm to 0.45 mm for medium fabrics. For knits, use looser density. For tougher fabrics like denim, make it tighter .
Step 5: Adjust Pull Compensation and Trim Commands. Apply pull compensation to counteract the fabric's natural stretch. This helps the design keep its original shape after stitching. Add trim commands between color changes to remove jump stitches .
Step 6: Add Color Sequence and Thread Chart. Assign thread colors that match your artwork. Choose reliable thread brands like Madeira, Isacord, or Robison-Anton. Arrange the color sequence to reduce unnecessary machine stops or thread changes .
Step 7: Preview and Simulate the Stitching. Use 3D simulation mode to see exactly how the design will stitch on fabric. Check for overlapping areas, gaps, or wrong entry and exit points. Fix anything that looks off .
Step 8: Save the File in EXP Format. Export the file in EXP format, which works best with most Bernette machines. Save a backup EMB file (editable version) so you can make future edits if needed .
Step 9: Transfer the File to the Machine. Copy the EXP file to a USB stick. For models that use the extended format, ensure you also copy any companion .INF and .BMP files . Insert the USB into your Bernette. From the touchscreen, open your design and check placement. Do a quick test run on scrap fabric to ensure everything stitches smoothly .
Here is a detail that trips up many Bernette owners. When Bernina talks about .EXP+, they are referring to a system where one design actually consists of three files .
The .EXP file contains the actual stitch data. The .INF file stores thread color information. The .BMP file provides a thumbnail preview on the machine screen .
For machines like the Deco 340 and Chicago 7, you must copy all three files to your USB stick for the design to display and stitch correctly . If you only copy the EXP, the machine may still stitch the design, but colors will show as defaults and the preview may be blank .
Forum users report that with proper file management, the Deco 340 reads .exp files just fine. One user notes that selecting the right download option brings in the additional text files with color choices automatically . Another confirms that saving text versions of thread lists with the same file name allows the machine to display correct colors .
Using the wrong format. Check your manual to know whether your machine expects plain EXP or the extended version with companion files. The B70 Deco works with standard EXP . The Deco 340 uses .EXP+ . The B79 reads multiple formats including PES and DST .
Forgetting companion files. If your machine needs .INF and .BMP files, make sure they are on your USB stick alongside the EXP. Without them, color information is lost .
File names too long. The Chicago 7 requires file names no longer than 17 characters, using only letters and numbers . Keep names simple.
USB compatibility issues. Some older models like the Chicago 7 prefer USB drives no larger than 256 MB and only for transferring files, not permanent storage . Newer machines handle larger drives fine.
Skipping test stitches. Always run a test on scrap fabric before stitching final products. This catches density issues, alignment problems, or thread breaks while materials are cheap .
Here is a quick reference based on model.
Bernette B70 Deco: Use EXP for best results. It also reads PES and DST .
Bernette Deco 330 / 340: Use .EXP+ format with companion .INF and .BMP files. Export from Bernina Embroidery Software using the "deco 330 (write to BERNINA card)" option to include color information .
Bernette B79: Supports PES, EXP, JEF, DST, and more. EXP works well, but PES is also widely compatible .
Bernette Chicago 7: Uses .exp format with .inf companion files. Follow the naming and USB guidelines carefully .
Perfect stitch results start with perfect digitizing. Whether you invest in software and learn the craft or hire professionals who do it every day, the file you feed your Bernette determines everything.
A properly digitized file has smooth edges, consistent density, proper underlay, logical sequencing, and correct sizing. It has been tested and refined to run without errors. It includes all the companion files your specific model needs.
Your Bernette machine is capable of stunning embroidery. Feed it properly converted files in the right format, and it will reward you with flawless results every time. Whether you choose the DIY path with software or the guaranteed path with professional services, the goal is the same: beautiful embroidery that brings your images to life in thread.